

Switching from Windows to Mac happened for me over 20 years ago. I was a diehard Windows user with no interest in moving to the Mac platform. Then Apple developed Aperture, and the hook was officially set. At the time, Lightroom didn’t exist, and I was juggling a hodgepodge of image editing tools, none of which provided any organization. Aperture looked like the way forward with its ability to adjust white balance, exposure, crop, and remove dust spots. And it could organize my pictures. The only roadblock was switching from Windows to Mac. However, the graphical beauty of Aperture was just too much to resist, and in 2003, I made the jump.

Two Weeks of Hell
Getting onboard with the Apple OS was not an overnight success. In fact, I hated it with a passion for the first two weeks and almost gave up. I believe my introduction to the Mac OS would have been much less painful if there had been some basic guidance. And it’s with that in mind, I wanted to write this blog for photographers switching from Windows to Mac. Be aware that my initial experience was all based around a Mac laptop and using the laptop’s trackpad. At the time, Apple’s trackpad was light years ahead of anything available on the PC. Today, PC trackpads have many of the tricks Mac invented, but I still find the Mac trackpad easier to use and customize if needed.
To Mouse or Trackpad, That Is the Question
Understanding some of the essential differences between the Mac and Windows will dramatically help you get off to a good start. It all begins with mastering the trackpad and its ability to accept finger-induced gestures. I know many out there CANNOT live without a mouse in their pocket.

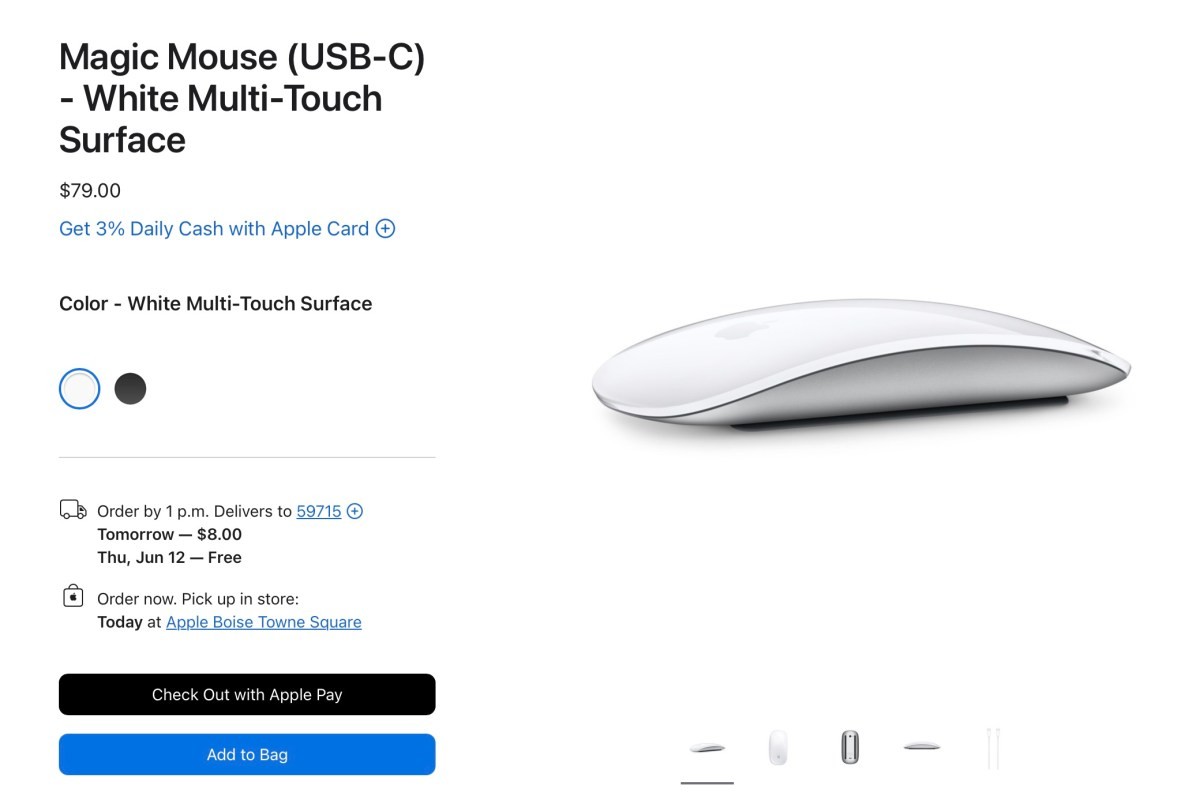
But if you really want to make your life easier, the mouse must go. If that’s impossible, the second-best option is Apple’s Magic Mouse. The Magic Mouse does have most, if not all, of the same gesture capabilities as the trackpad. However, given the many possible gestures for moving the cursor across the screen, I find the Magic Mouse form factor not as easy to use as the trackpad.
Trackpad Essentials
Apple provides fabulous video tutorials for understanding what trackpad gestures are available and what they do. You can get to these visuals by clicking on the Apple logo in the upper left corner of your screen. Then click on System Settings. Up will pop a window with many options. Scroll down to and click on Trackpad. Doing so brings up multiple options in the window on the right side. At the top of that window are the moving visuals, basically videos, that show how the trackpad options work.
Final Thoughts
Once you understand how the trackpad works, you’ll realize how intuitive and powerful the Mac OS is. And don’t forget about setting up Time Machine. It’s by far the easiest and most powerful backup tool I’ve ever used. Here’s a short video on how to get that sorted out so you never lose a file again.