

In today’s world of fast moving technology, Panasonic is making sure our gear keeps pace. To that end, I have a new firmware update to announce for the Leica 100-400mm zoom.
Lumix Leica 100-400mm Firmware Update Instructions
Panasonic recently released a new firmware update for the Leica 100-400mm zoom. The main upgrade is additional Dual IS capabilities. I’m being told it gives another one full stop of stabilization when using the G85 and the soon to be released GH5. Absolutely amazing in my opinion.
My Panasonic colleague and engineer Robert Kozlarek helped me with the information below on a streamlined firmware update process. Here is the current information.
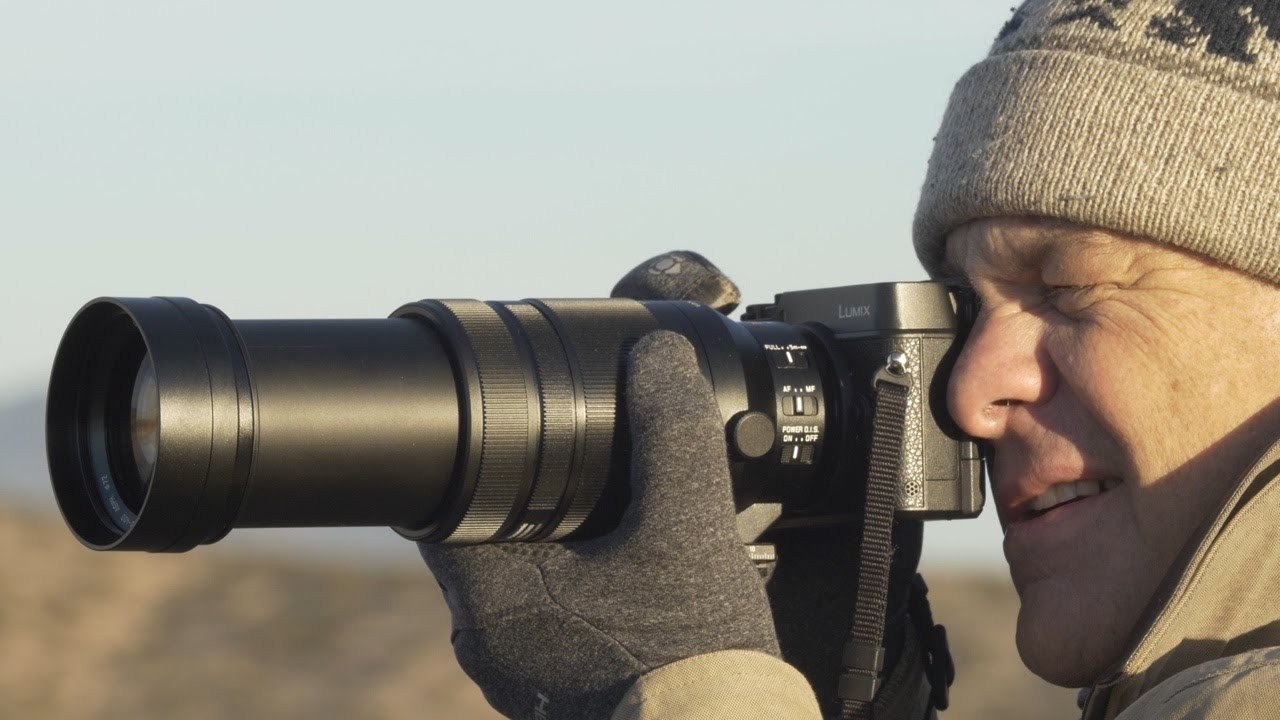
Updating the Leica 100-400mm firmware
1. Go to www.panasonic.com. Click on the Search window in the top right corner of the page that says “Enter Model, category or keyword.”
2. Enter 100-400mm which will show a photo of the lens. Select this option by clicking on the text below the image which will then connect you to the product page. If you want to skip this step click on this link 100-400mm firmware which will take you directly to the 100-400mm firmware download page.
3. On the 100-400mm product/firmware page, scroll down until you see “Firmware and Drivers” on the left side of this same page. It looks like the image below. The image below is for a visual only. DO NOT click on the ZIP or PDF icons in this image. They will take you nowhere. You have to click on the link and find these icons on the page that comes up.
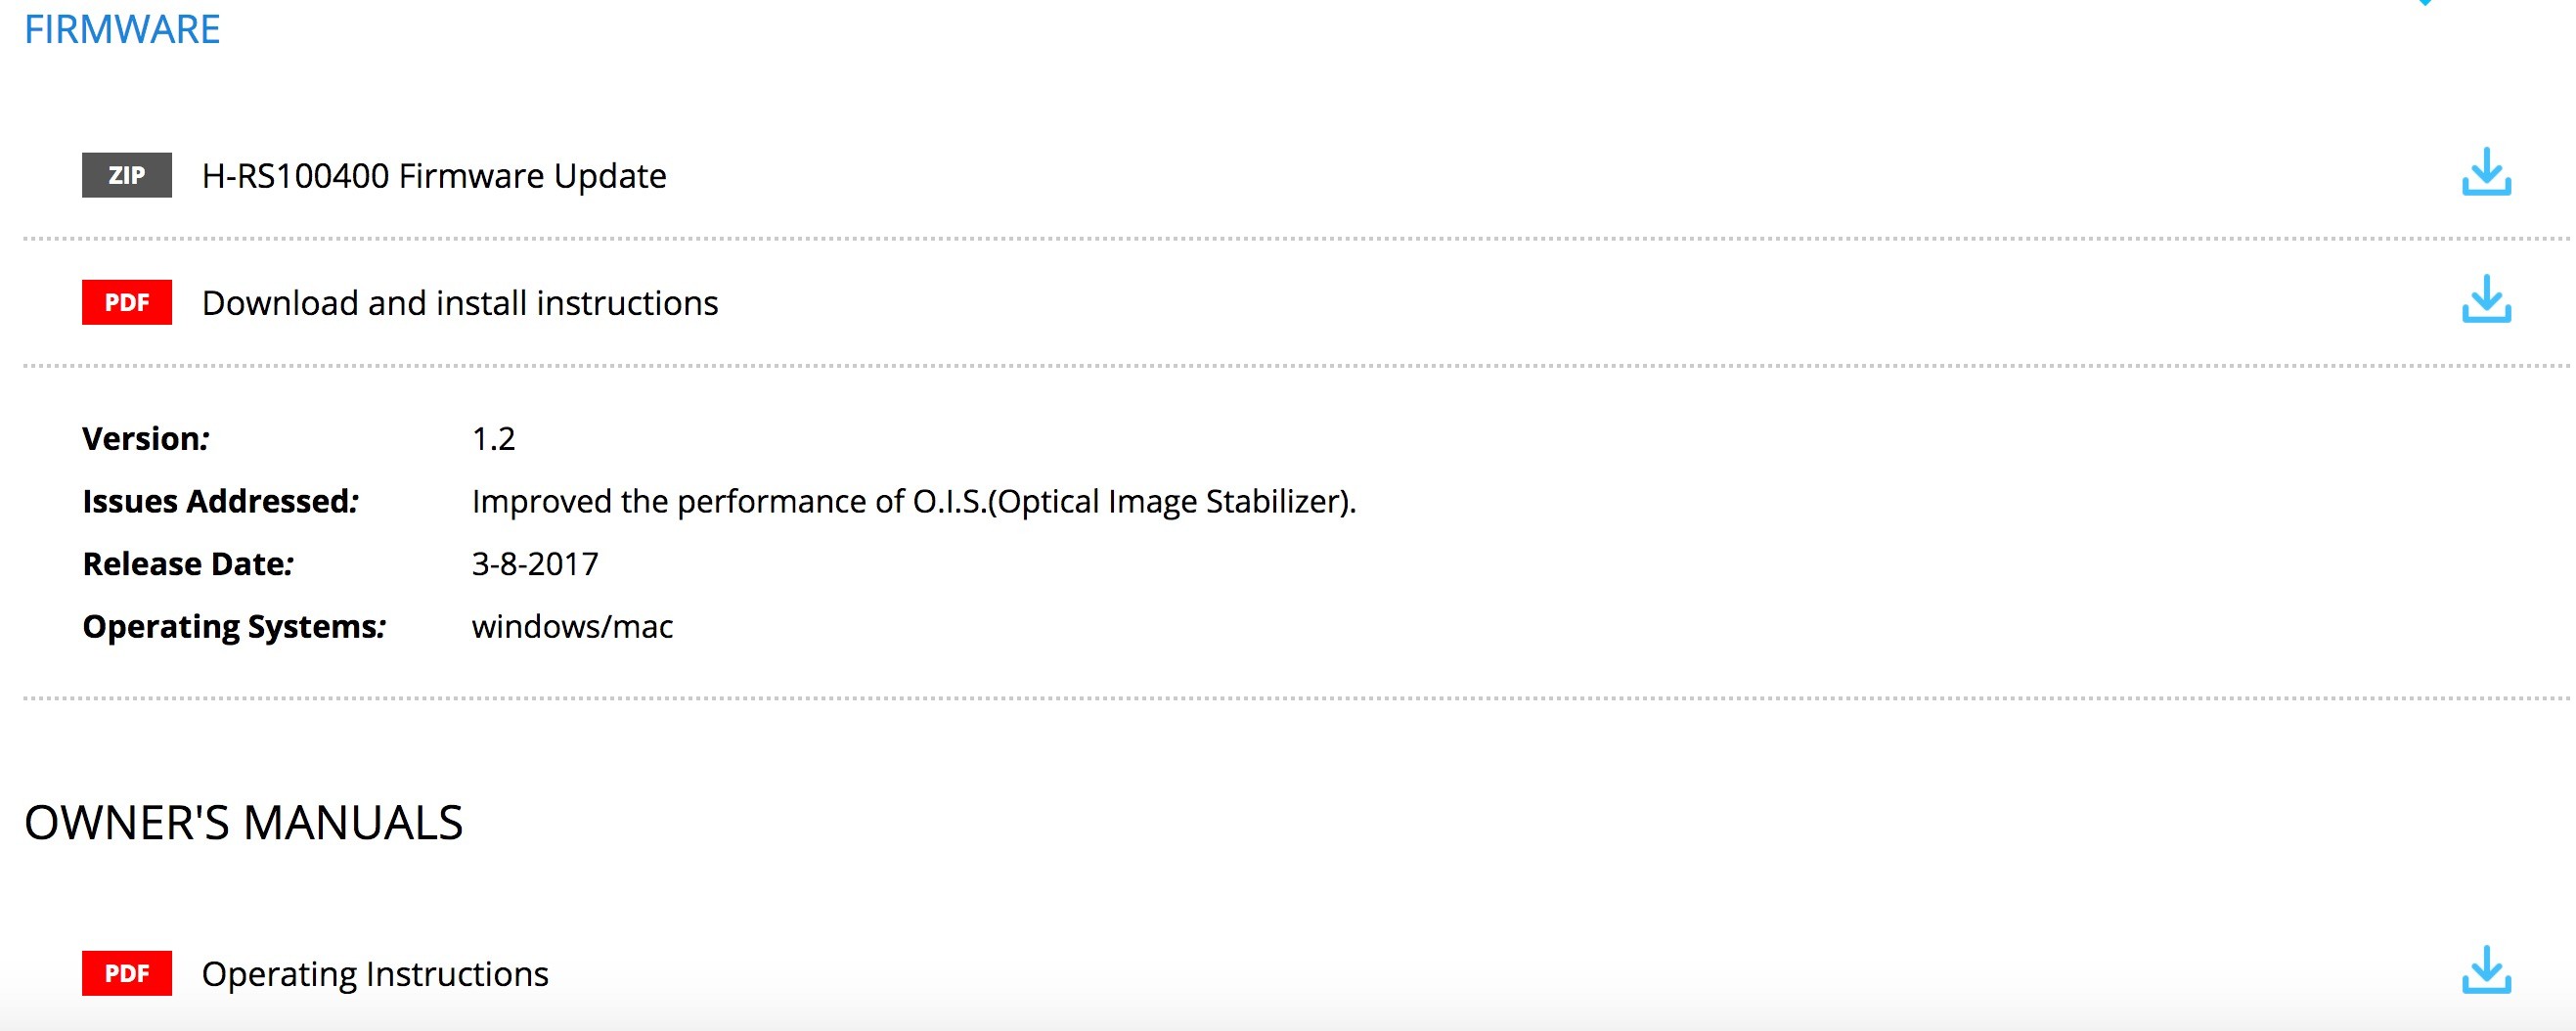
 If you click on this image it will start you through the process to download the firmware update.
4. You will be taken to the latest version which also provides a link to a page with “Download and Install” instructions. Make sure you check the box “Agree to Terms.”
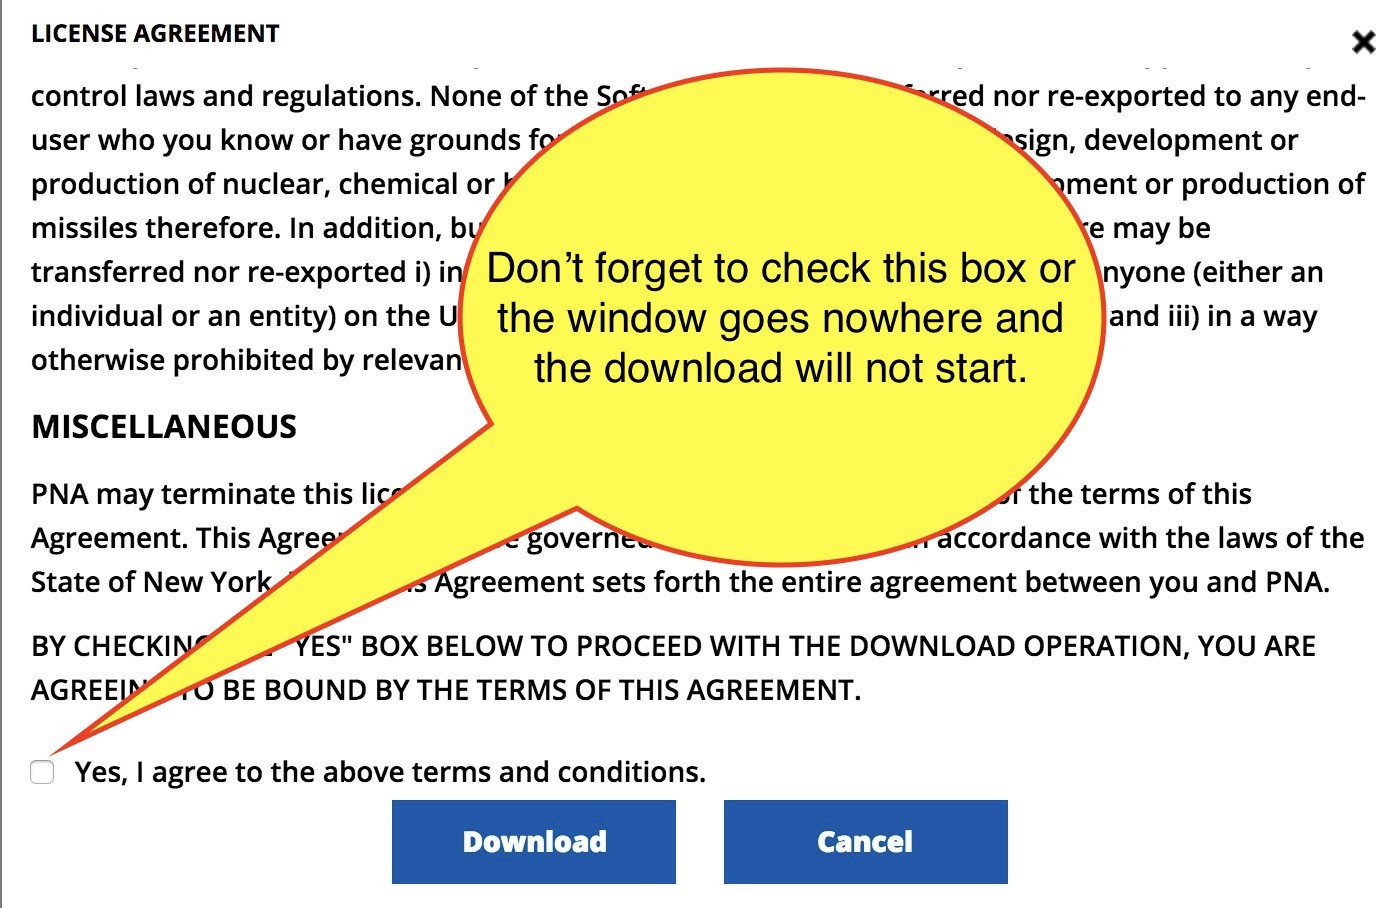
The download will start and it is put in whatever folder you have chosen on the PC. On the Mac, it automatically goes in the Download folder unless you’ve changed the default location.
1) Preparation before attempting the update
A. Make sure the camera’s battery is completely charged. If the battery is not completely charged
the firmware update will not begin. Format the SD memory card in the camera, and then take a
couple of pictures.
B. Turn off the camera.
2) Copying the firmware to your memory card
A. Download the latest firmware update for your model by clicking on the “Download Ver. X.X ” link to a location on your computer (we recommend the desktop).
B. If your computer has a media reader, insert your formatted SD Card from your camera.
C. For PC users, locate your SD Card by clicking on, or opening the “My Computer” or
“Computer” on your desktop or your Start menu. For Mac users, you can use “Finder” if the card does not mount to your desktop.
D. Open the zipped firmware file that you downloaded to the desktop.
E. Drag to copy and paste the .bin file from the opened firmware folder to the SD Card showing in the “My Computer” window for PC users and “Finder” or “Drive” for Mac users. This will copy the file to the card.
F. If you chose to leave the SD Card in your camera rather than inserting it into the computer (step B), connect the camera to the PC with the USB cable. Turn the camera on and set it to “Playback” mode. Then select “PC” on the LCD screen. Drag the .bin file from the opened firmware folder to the device that either says Panasonic or mass storage to complete the transfer.
G. SDXC cards 32GB or larger require special card readers. Depending on your PC and the age of its operating system, you may not be able to directly write to such large cards. If your PC asks
you to format the card, DO NOT—this is one indication that your system is not compatible with
the newer, larger memory cards. In this case, a 16GB or smaller card should be used.
3) Updating the camera’s firmware
A. Turn the camera off, insert the SD Card if you copied the firmware to the card while inserted into the computer.
B. Turn the camera power on and press the “Playback” button. The Camera’s LCD screen should
now be showing a screen asking if you desire to update the firmware. Highlight “Yes” and
press the “Menu/Set” button.
C. When the camera has completed the firmware update it will turn itself off and then back on.
D. This completes the update process.
4) Confirming the update
A. Turn the camera power back on.
B. Set to “Playback” mode.
C. Choose the “Setup” menu.
D. Select Version Disp.