

This blog post outlines my preferred settings for the new Panasonic Lumix GH5. I’ve been shooting Lumix GH5 since it was released nearly five months ago. In that time I’ve produced a little over 36,000 images, and along the way I’ve decided on a number of settings that work best for the work I do. I’ve been asked by my friends at Bozeman Camera if I had any custom settings I would share, and of course I said yes. With that in mind, I decided to put my suggestions into a blog post for the benefit of all Lumix GH5 users who enjoy nature, travel, and general photography. To get started, if you haven’t done so already, you should really have a copy of the GH5 Advanced Manual.
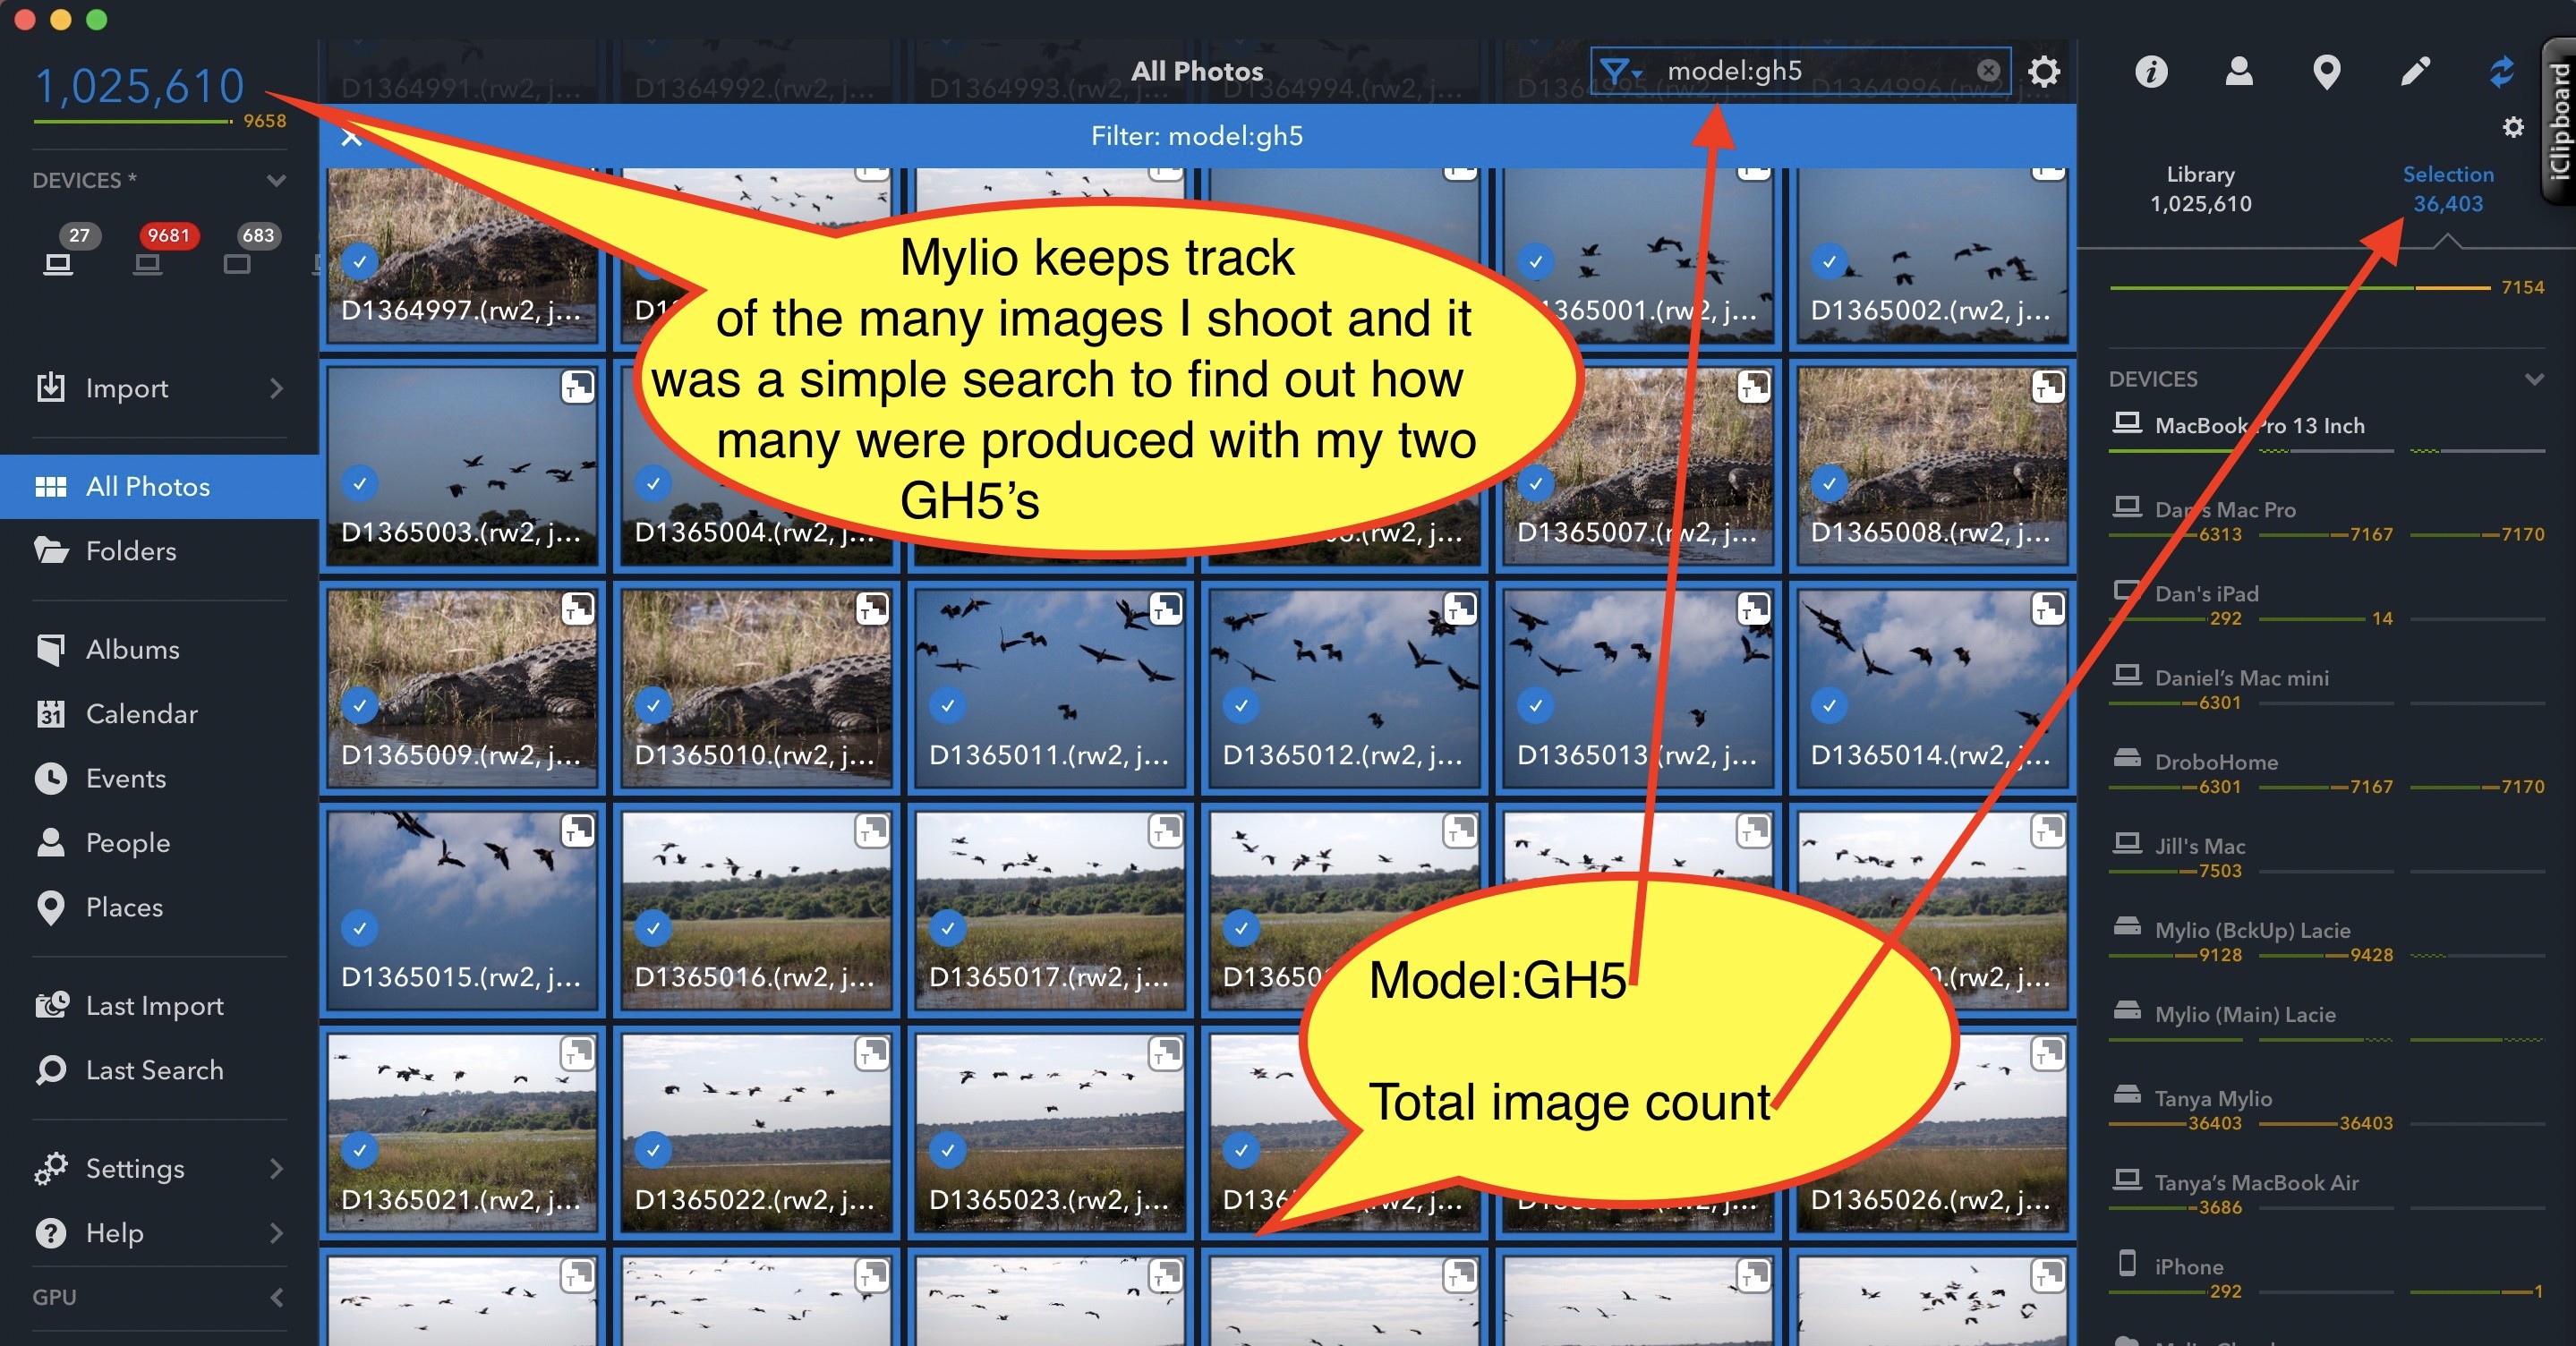
 Mylio blazes through over 1 million images in less than a second to find Lumix GH5 photos.
One of the great things about Panasonic is their relatively consistent camera menu User Interface (UI). From the diminutive Lumix LX10 to the powerhouse Lumix GH5, most Lumix cameras have a virtually identical UI. There are exceptions as far as features, but diving into the menu of the LX10 is a similar visual experience as that of the G85, GH4, GH3, FZ300, and other Lumix models.
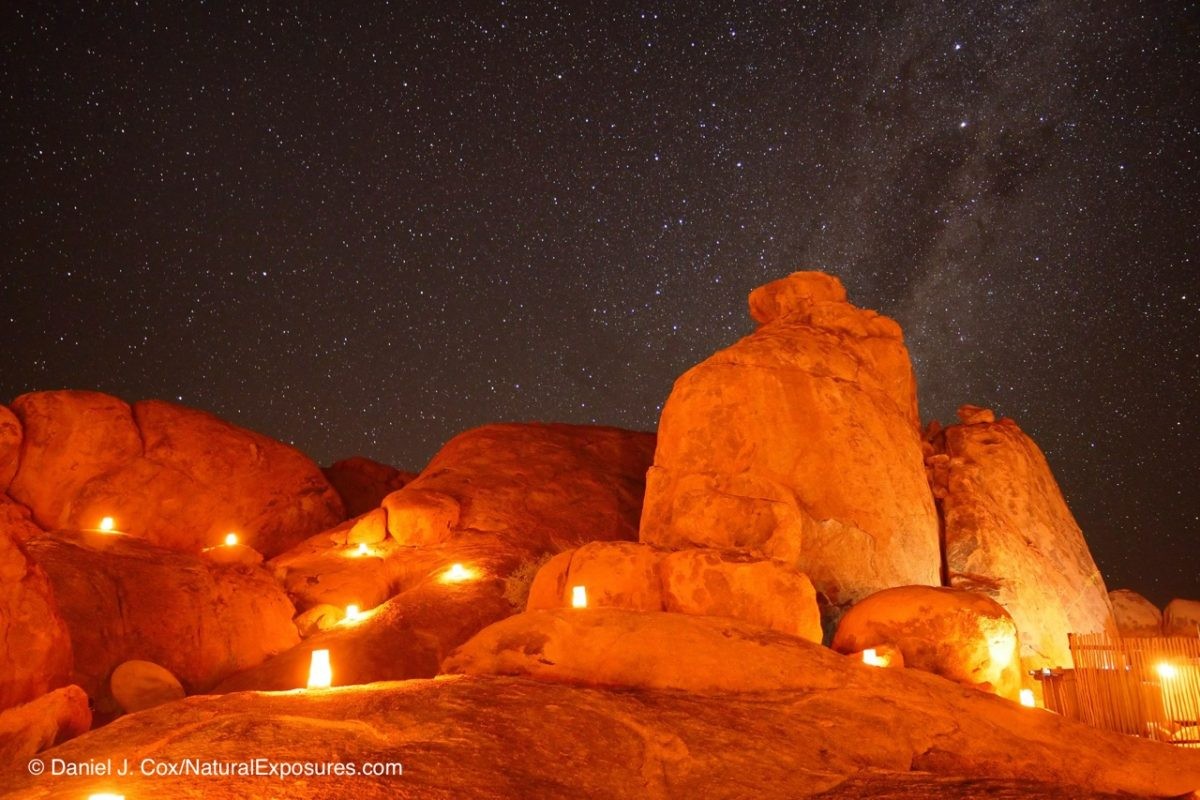
 A scene of the night skies as we enjoy a bush dinner in the Namib Desert of Namibia. Focus on night sky was achieved via the Star Light AF which is nothing you have to turn on. Just poin the Single AF sensor at the sky, make sure AF Switch is set to AF-S and let the camera aquire focus. It does so very slowly but give it a chance and it will work.
The GH5 is slightly different with a new section that divides settings by category. Once you see and understand this new page, the rest is virtually the same as what we see in other models.
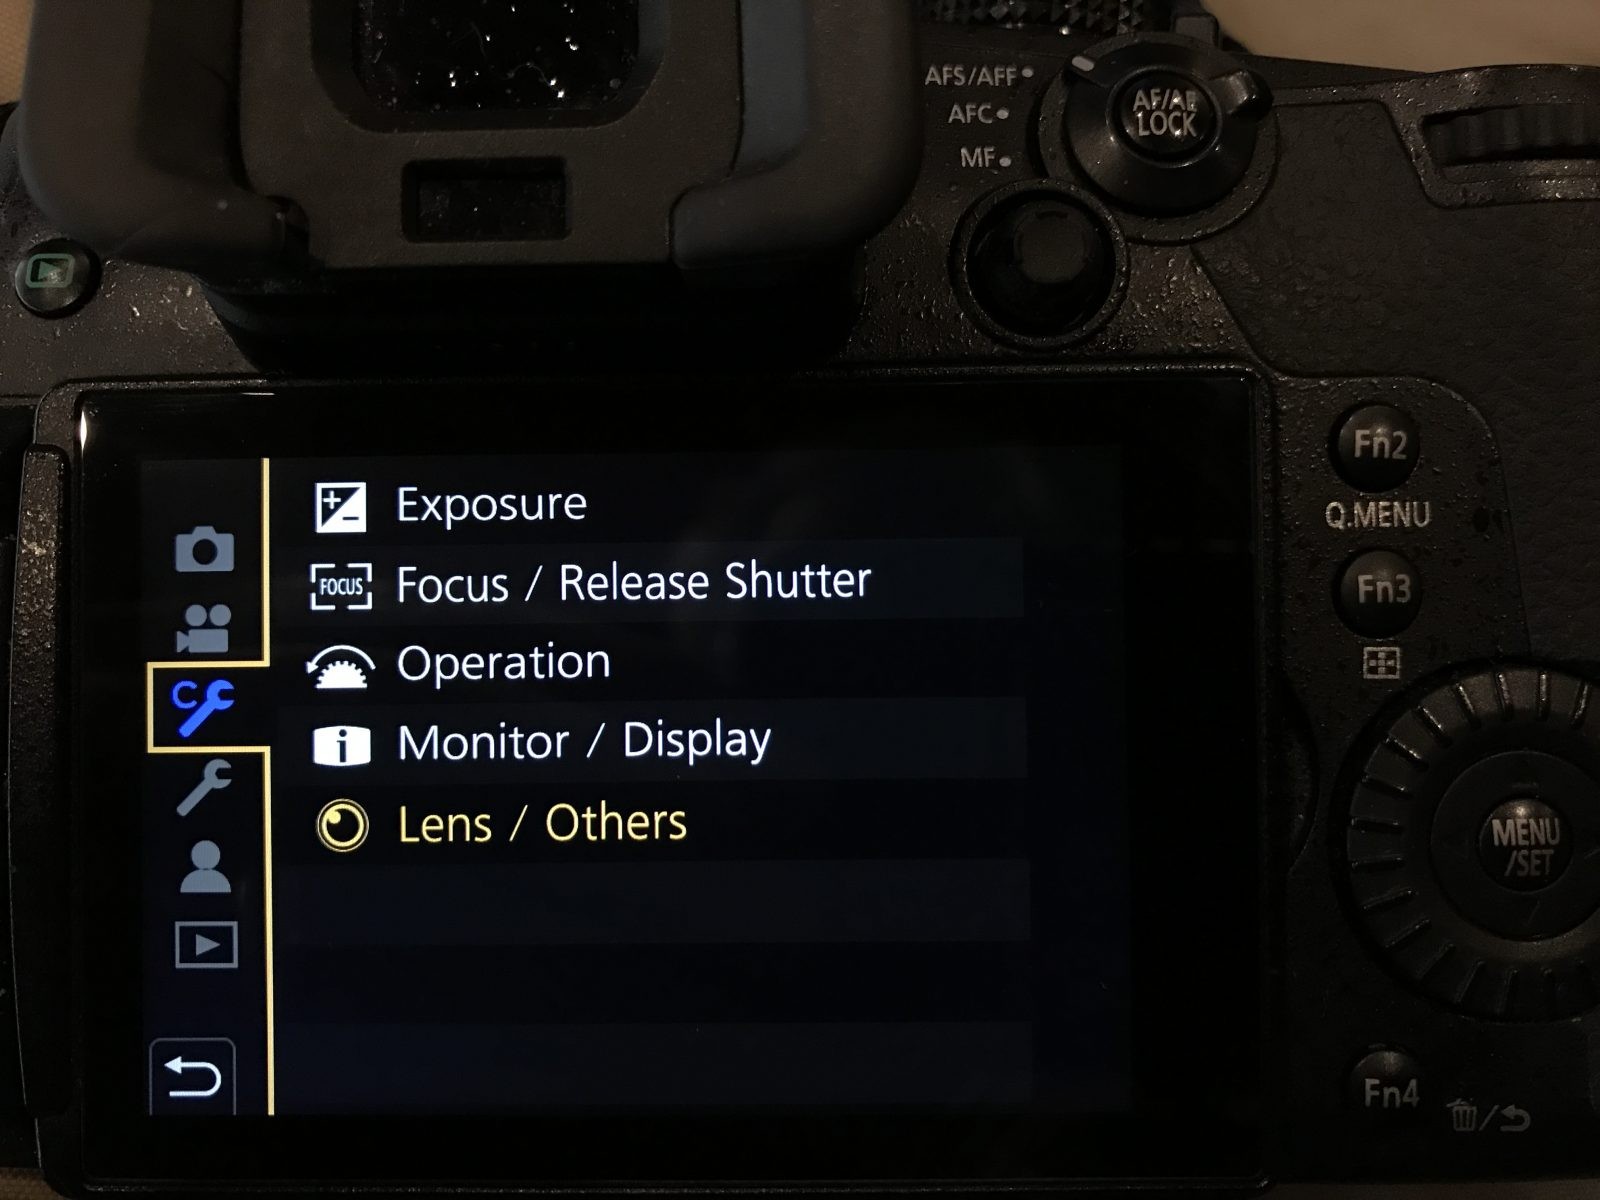
 A photo of the new Custom Settings division page.
Another new menu feature is the My Menu option. In My Menu, you can keep track of the many different Custom Settings you make to your camera. This is a welcomed feature since there are so many options you can customize to make the camera work in a way that is best for you. It’s a great new option to go to the things you’ve changed fast and easy.
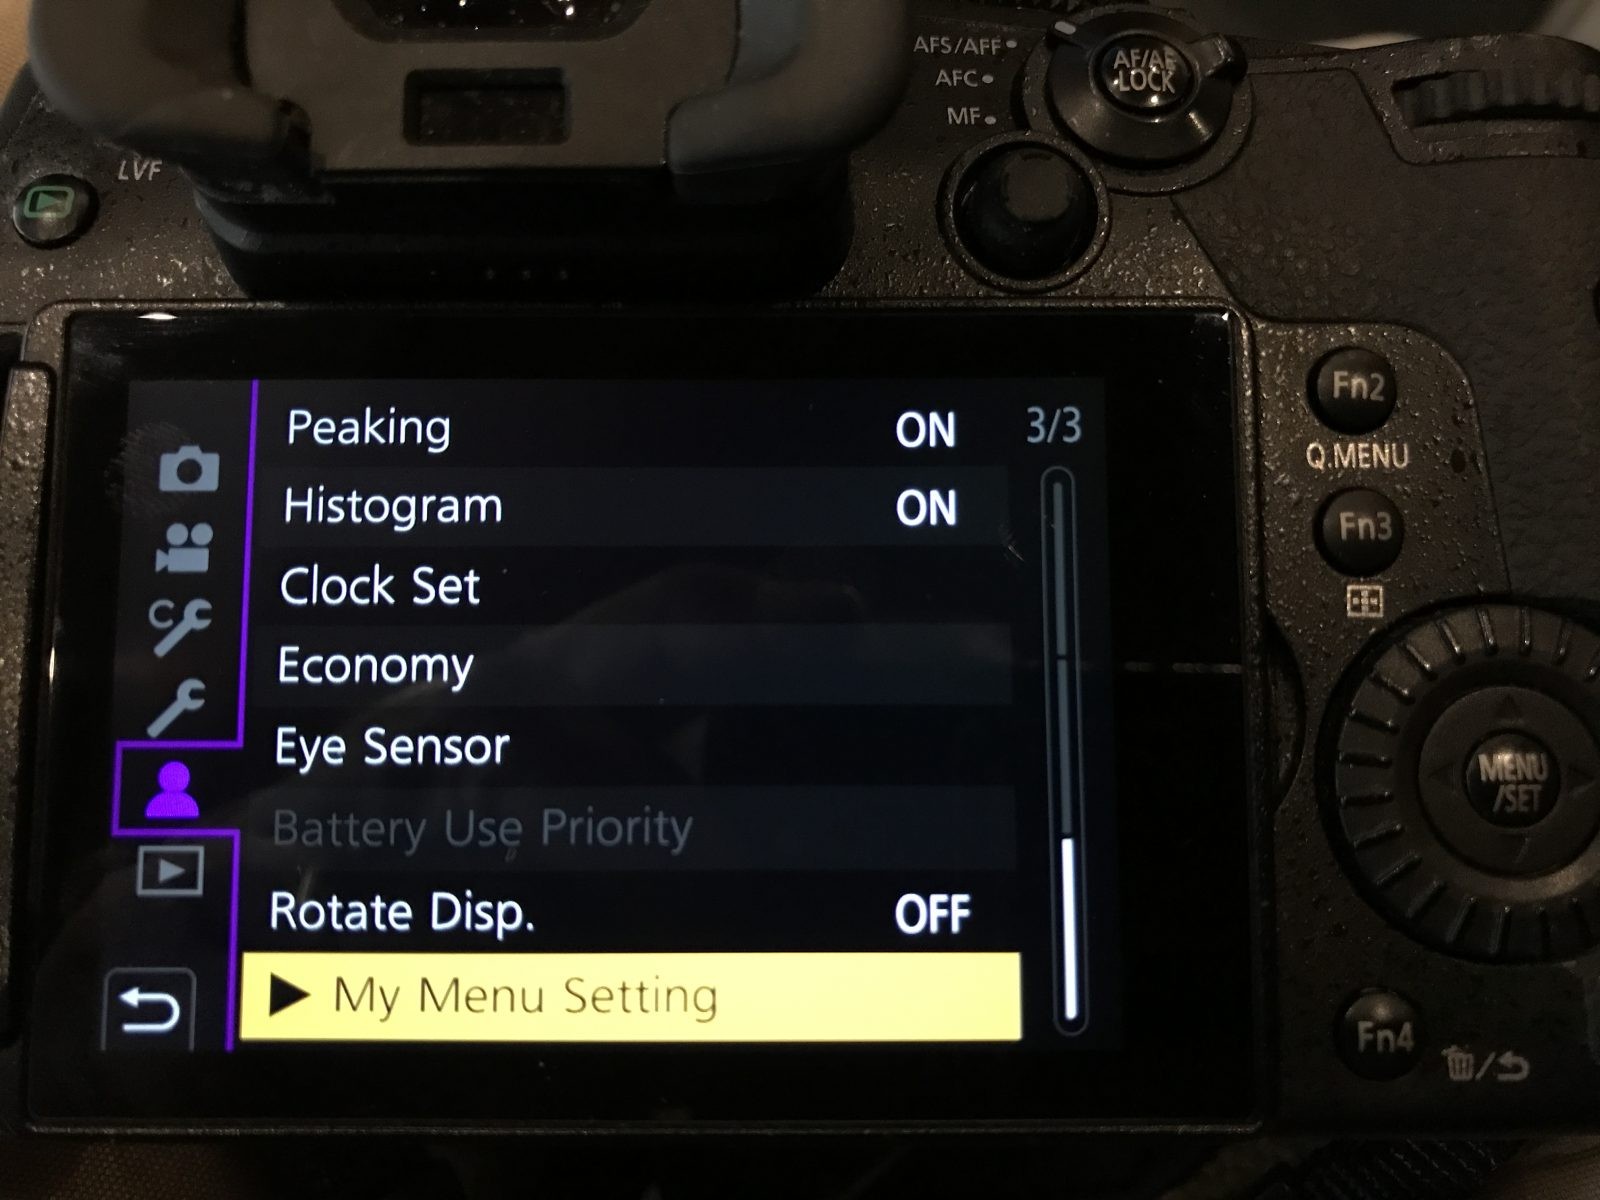
 A new option in the GH5 is the My Menu selection.
The first section I’ve detailed below are basic settings applied outside the menu, in other words, buttons and dials on the camera body itself.
Camera Settings Physically on Camera Body
- AF Mode Switch, upper right side of camera body encircling the AF/AE button. The switch should be set to AF-C most of the time but I do change to AF-S as needed.
- AF Area Button: Set to 1-AF or 225-AF. I often use both. For birds in flight I use the 225 and sometimes the Custom Multi
- Program Dial: P for Professional I like to say. Read more here.
- ISO: Based on light and shutter speed required. For birds in flight typically ISO 640
- White Balance: Generally set to Auto but sometimes cloudy for more warmth
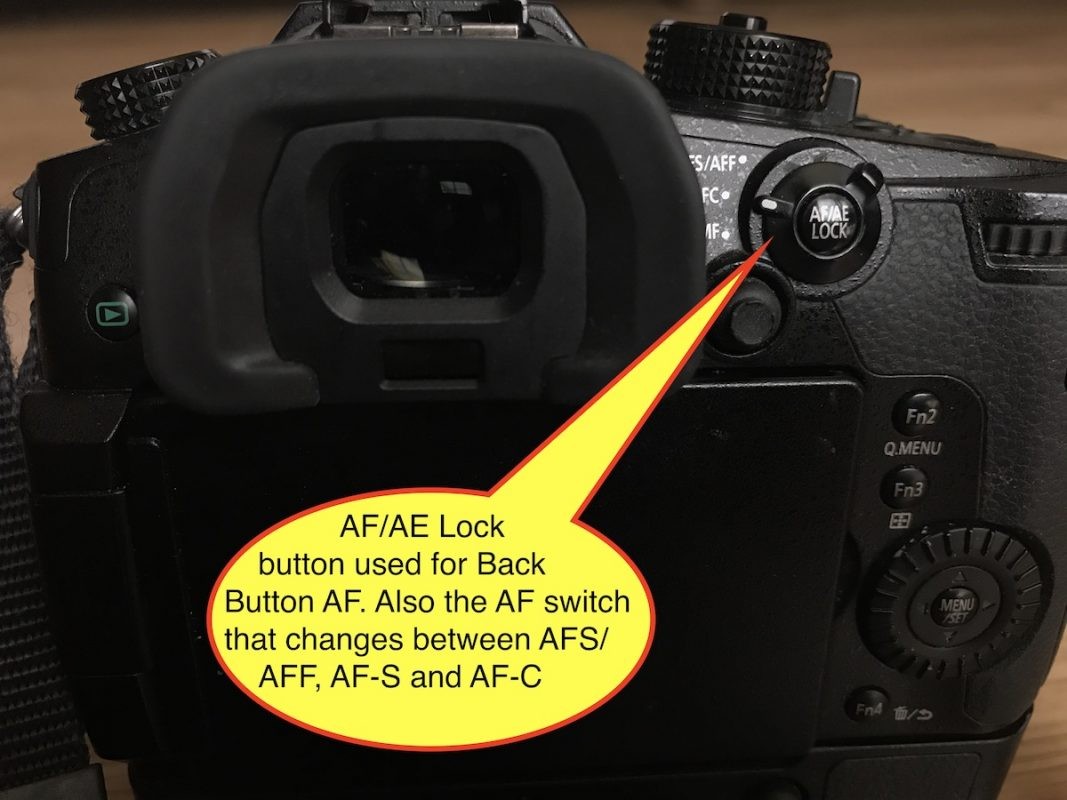
 AF/AE Lock button and AF switch physically on the back of the camera, not to be confused with Many settings with similar names in Menu.
Custom Settings Via the Menu
Record Tab
- Aspect Ratio = 3:2 (I use 3:2 to match the aspect ratio of my Nikon cameras so presentation images are consistent)
- Picture = L17m
- Quality = RAW+Jpeg Fine (Jpeg is for a backup image as well as to easily load to my iPhone if needed)
- AFS/AFF = AFS (don’t confuse this MENU item with the physical SWITCH on the body for AF mentioned above in Camera Settings)
- AF Custom Setting (Photo) This will be grayed out if you have the AF Switch on AF-S. That switch which is located on the upper right side of the camera needs to be set to AF-C to engage the AF Custom Setting (Photo). This feature is rather complicated and I wished it weren’t. But for general photography, I use the first option Set 1. For action photography such as birds in flight, I use Set 4.
- Metering mode = Multiple (Nikon calls it Matrix. Canon calls it Evaluative)
- Bust Rate= High
- ISO Limit set = 3200
- ISO Increments = 1/3 EV
- Extended ISO = On
- Long Shutter Noise Reduction = On
- Color Space = sRGB

 Horned puffin in flight from my recent shoot in Alaska. Captured with the Lumix GH5 and the Leica 100-400mm
Motion Picture Tab
- Rec Format = MP4 (LPCM)
- Rec Quality = Depends on every shoot. Most often 4K 8bit-100m/30P
- AFS/AFF = AFS
- Continues AF = Most often OFF. But I’ve been experimenting since GH5 is so much better at AF in video mode.
- AF Custom Setting (Video) Default. This is grayed out if you have the above Continues AF set to OFF.
- Video Style = Standard
- Filter settings = OFF
- Metering Mode = Multiple
- Diffraction Compensation= Auto
- Stabilizer= Operation Mode
- Mic Level Display = On
- Mic Level Limiter = On
- Wind noise canceller = Standard
- Sound Output= Recorded Sound
Custom Tab C-With Wrench
Exposure Page 1/6
- ISO Increments = 1/3 EV
- Extended ISO = ON
- AF/AE Lock = AF-ON (Necessary for back button AF activation)
- Shutter AF = OFF (Necessary for back button AF activation. Used with AF/AE Lock = ON listed above)
- Half Press Release = OFF
- Quick AF = OFF
Focus Page 2/6
- Eye Sensor AF = OFF
- Pinpoint AF Setting = DEfault
- AF Assist Lamp = ON
- Focus Release Priority, AFS/AFF = Balance, AFC = Balance
- Focus Switching for Vert = Off
- AF+MF = OFF
- MF Assist = Focus
- Manual Focus Assist Display = Full
Dials Page 3/6
- FnButton Set = The only one I’ve changed is Fn6 which I use for Depth of Field Preview which is a visual of an Aperture blade with the word Preview
- Quick Menu = Default (Preset)
- Dial Set. Assign Dial (F/SS) Default, Rotation (F/SS) Default, Exposure Comp set to Front Dial. (This is an important change. Allows me to instantly change Exposure Compensation based on HIstogram without having to push the +/- EVE button on top of the camera behind shutter button. This makes changing your exposure based on the histogram exceptionally fast. This can get knocked off when putting your camera in a bag but EVF shows either too bright or too dark AND you should always be looking at the histogram which will also tell you if it’s been knocked off center. Dial Operation Switch Setup = Default
- Joystick Setting = D-Focus Movement
- Operation Lock Setting. Cursor = On, Joystick = On, Touch Screen = On All Defaults. Have to admit, I’m unsure what Cursor is. Need to look a that up. Touchscreen Off is an option for people who have a difficult time with their nose touch back of LCD and moving the AF sensor accidentally.
- Video Button = On
- Touch Settings: Touch Screen – On, Touch Tab – On, Touch AF – On, Touch Pad AF – Offset
i-Information Pages 4,5/6
All the settings on these pages, 4, 5, are listed below if I have made any changes. Most are left at default so I’m not listing them. If it’s not listed you can figure it’s not changed from what the camera was set to at the factory.
- Auto Review-Duration Time (Photo) = Off All other options are set to default.
- Constant Preview = Off
- Peaking = On
- Histogram = On
Wrench Tab
All Wrench settings I have left in the default position. The one some might want to try is the Economy. The economy setting is there to give you options for when your camera shuts itself off to save battery power. I’ve not found batteries to be an issue so I’ve not messed with it.
Green Arrow Icon
I have only one change in this menu and it’s the Rotate Display = Off. This allows verticle photos to be played at the full size of the LCD. To see it properly you have to rotate your camera. Otherwise, your verticles are played up and down with the LCD in the horizontal position which makes the images small and difficult to review.
That should do it. These are my entire collection of settings I use 99% of the time. No, I can’t remember the other 1%. I sometimes try different things, but if they aren’t in the list they haven’t been helpful for me. Let me know if anything is unclear. I’m happy to answer any questions in the comment section below.
Luminary Disclaimer
In the spirit of complete transparency, I want all my readers to know that I am a Lumix Luminary. That means I get paid a small stipend for writing about a system I absolutely love. That said, I want you all to know there is no amount of money more important than my integrity. Much to the chagrin of my Lumix colleagues, I often point out the bad with the good regarding Lumix technology and their camera gear. My belief is honesty and truthfulness will not just help you, but it also helps a company I love to work with. To that end, it’s full steam ahead telling it like it really is.
Daniel J. Cox